
Dangerous and extreme heat will remain across portions of the southern U.S. through the weekend. A heat wave over the Southwest U.S. will intensify this week, peaking and expanding into the Intermountain West and northern High Plains this weekend. Multiple rounds of thunderstorms will produce heavy to excessive rainfall with significant flash flooding across portions of southern New England. Read More >
Connecting the Nimbus digital thermometer to your computer requires a 9-pin Serial Null modem cable with female connectors on both ends of the cable. Your computer must also have a Com port. Some newer computers do not have this as it is old technology. Assuming that you have met the requirements, the rest is fairly easy. You must also have Windows Hyper Terminal installed on your computer. If you do not have Hyper Terminal installed, we can provide a copy.
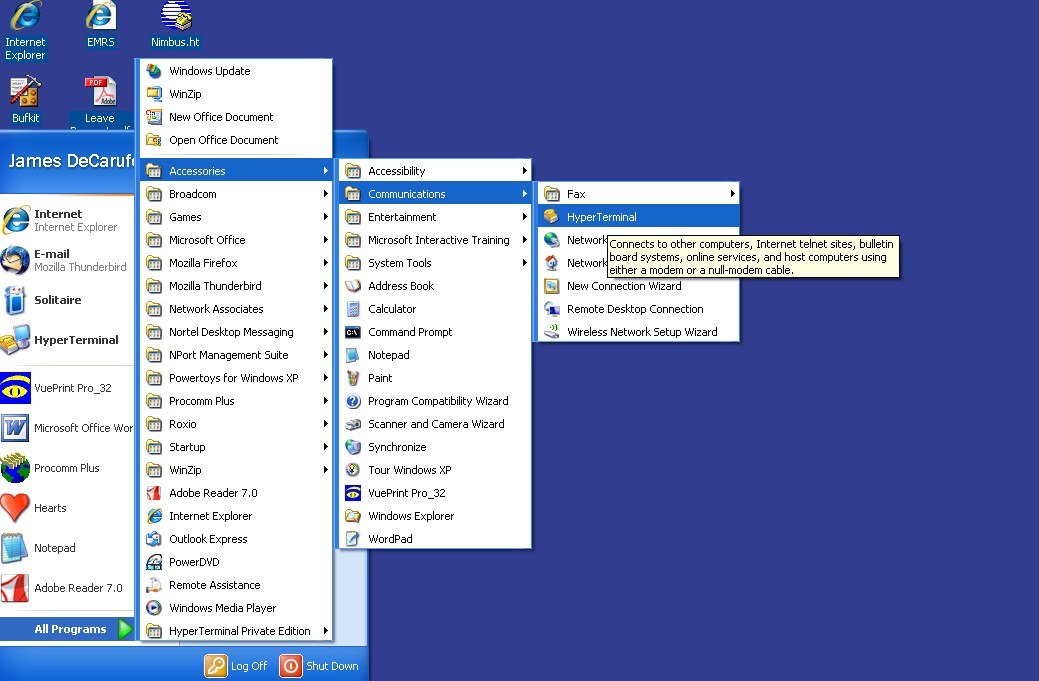
1. All of the following assumes that Windows XP is the operating system you are using. From the Start menu, go to All Programs, Accessories, Communications, Hyper Terminal as shown below.
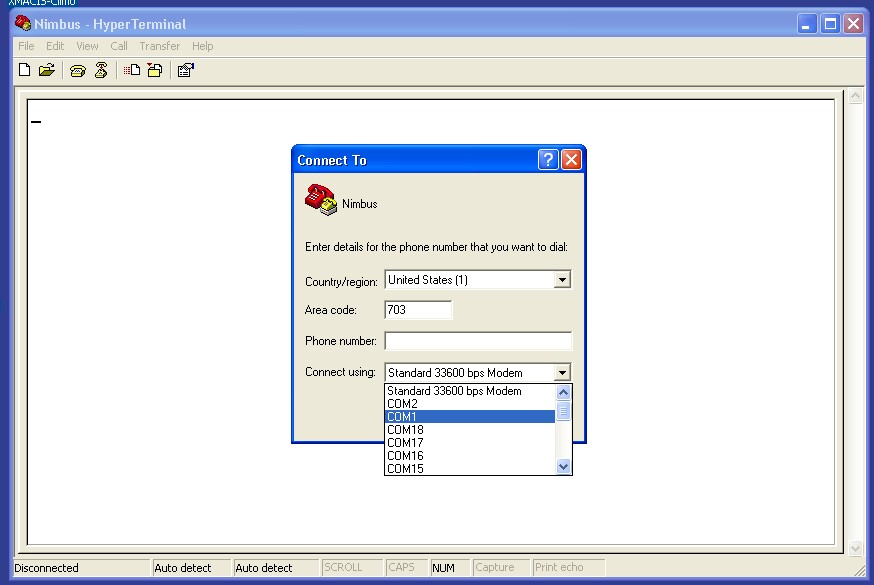
2. When Hyper Terminal starts, you will see the line to give the connection a a name. For our purposes, I called ours, Nimbus. You can also choose any one of the icons shown below the name line. Once you have done that, the next screen comes up and looks like the one shown below. In here you will need to change the "Connect using" line to the COM1 port. I have highlighted it in the image below.
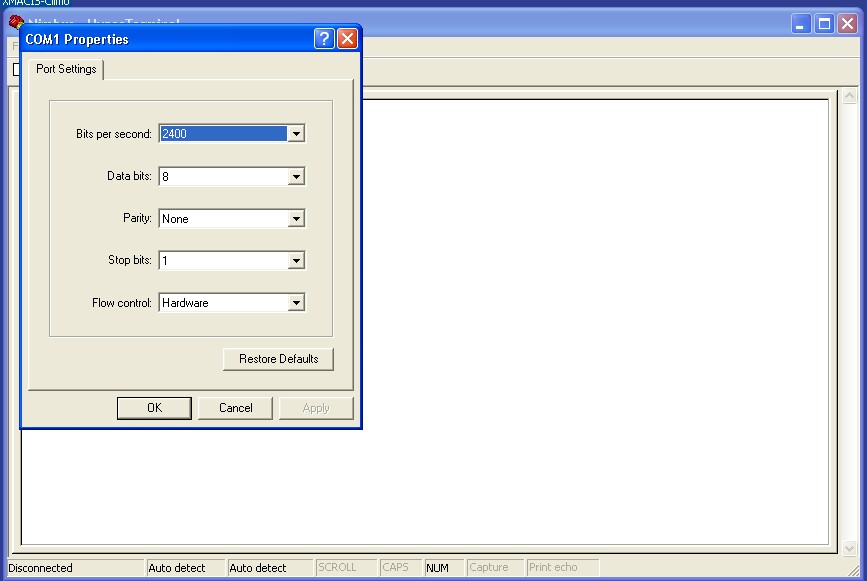
3. The next step shows the Com port properties. You do not need to change anything here. It should look like the image below. Click the OK button.
4. After clicking OK from the previous screen, the next step is to click on File and select Properties. An example is shown below.

What you see next is where we have to tweak a couple settings. See image below.
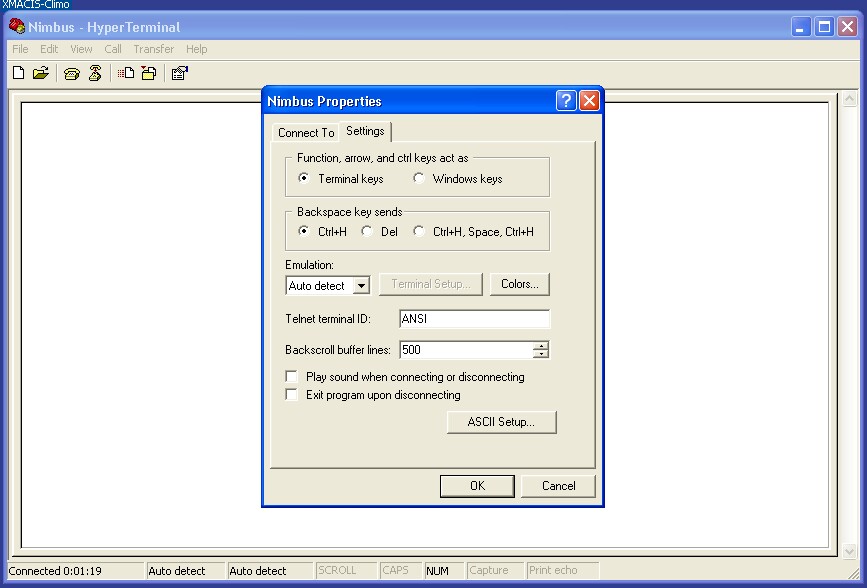
5. Just below the Nimbus Properties on the top of the window, you see a Connect To tab and a Settings tab. Click the Settings tab and you should see what is shown in the above image. Near the bottom of that screen is the ASCII Setup button. Click that button and the next screen comes up.

6. Your screen will not have a check mark in the second box from the top, the Echo typed characters locally. We want to put a check mark in the box. Once you put the check mark in that box, click OK to close that window and click OK again on the Nimbus properties screen to go back to the main Nimbus HyperTerminal window.
Last step is to test what we have done. Your Nimbus manual has the following information in it and several functions that you can use to talk to the Nimbus. You will mainly be interested in using the atmX feature. As seen in the image below, I typed in atm20 which will return the Max and Min temperatures for the previous 20 days as well as the time it occurred. In the example shown below on October 29th the Max temperature was 57.0 degrees at 14:43 and the Min temp was28.1 degrees at 05:25 in the morning. The Nimbus stores up 35 days of temperature data so when you want to see only the previous weeks data, you would enter atm7. You must enter the atm but can enter any number from 1 to 35.

When you are finished viewing the data, you will want to disconnect. To do that you can put your mouse over the telephone icon at the top of the window that shows the receiver off of the phone base and click the mouse. Or you can use the X in the top right. If you use the X in the red box, Windows will ask you if you want to disconnect and you click on Yes. The HyperTerminal session is now closed.
One word of caution. When you open a Hyper Terminal session, you should always see what you are typing. If you typed in something like atm10 and you do not see that on your screen, the Nimbus has lost its connection to your computer. Simply Restart your computer and the connection will be restored.


 Coastal Flood
 FAQ
FAQ